The American Heart Association recommends exercising at least 150 minutes per week. While it may seem easy to achieve, in my experience, life can find ways to stand between me and my aspirations.
I started to do exercises without equipment at home when I didn’t want to face another dreary rain-sodden run outside.
Contents
Home Workouts With No Equipment
If you’re looking for a workout routine without buying any equipment, you can easily use your own body weight as resistance.
So you have been leading a more sedentary existence than you would like and haven’t done any exercise for a while.
A few pounds have appeared and you would like to either remove them or shift them over to where the bulges should be.
Now, you want to change all that and feel great with fewer health issues and risks.
That’s great. However, always consult your healthcare professional before any rigorous exercise.
Here are my top seven basic but effective exercises that you can implement at home or anywhere, anytime. We’ll also present variations to suit all levels. And yes you don’t need anything except a little motivation and maybe a mat for a bit of comfort and cushioning.
But first of all, you’ll need to warm up. Just 5 minutes of light movement should get all the muscle groups, the heart and respiratory systems activated and ready to rumble.
This 5-minute routine needn’t be just a precursor to exercising without machines it can be used as a stand-alone way of getting moving in the morning or to give you that extra energy boost when it’s most needed.
All of the following exercises can be done as a sequence each one lasting for a fixed time with an active rest session in between. Depending on your fitness level you can adjust the time accordingly.
As a guide, you might want to try 20 seconds for each exercise with 10 seconds of active rest. That is a boxer shuffle or for low impact simply stepping from foot to foot.
When this becomes easy at the advanced level – kudos – you can step it up by 10 seconds at a time. Or some days your body responds less well than on others. And some days you feel invincible so change accordingly.
Otherwise, follow the time or repetitions in the description and adjust them according to your fitness level.
Don’t start from scratch and go mad. You probably won’t enjoy it and may never want to do it again.
Concentrate on form – the movements should be as full as possible, extending the arms and legs properly, straight back and stomach muscles activated – ready to go.
1. The Tuck Jump
I typically like exercises that work on several muscle groups, and this is one of them. The movement increases your heart rate, providing good cardio exercise. It also activates both your abdominals and legs.
You’ll find that the intensity of this workout relies on two factors: your speed, and how high you jump.
Step by Step
- Starting position: Slightly bend your knees. Your arms should be in front of you at a 90-degree angle, hands up.
- Jump: As high as you can, bringing your knees to your chest.
- Hands-down: As you jump, touch the outer side of your knees with your hands.
- Landing back: As you finish your jump, ensure that you keep your knees slightly bent. Your back should be in a straight position. Your arms come back to their initial position, in front of you, at a 90-degree angle.
- Repeat: 10 times.
This exercise showed great results in improving running speed.
3. Dips
For me, arm workouts can be a challenge. When I first started dips, it was an exercise I wasn’t looking forward to. After a little practice, it’s now one of my favorite moves, and I add it to any home routine. It’s amazing what can be achieved with practice and persistence.
While you’ll see athletes doing dips using parallel bars, they can also be performed at home using a simple chair, couch, or even straight on the floor. If you’re outdoors, use the edge of a bench, or even a set of stairs will work.
Dips primarily work on your triceps, muscles located at the back of your upper arm. You’ll find that the chest also gets engaged.
Step by Step
- Starting position: Sit on the surface with your back straight and shoulders down. Your knees are bent, and your feet lie flat on the floor.
- Hand positioning: Place your arms behind you on the platform (chair, stair) shoulder-width distance apart. Your palms should be down, fingers towards you.
- Bend your arms: Lower your body, your arms should be parallel to your core, forming a 90-degree angle. Keep your shoulders down throughout the movement.
- Push back up: Using the force of your arms and triceps, pull your body up.
- Repeat: 10 times.
You can even do it on the floor without any chair or platform.
Low Impact Option
Use a chair with a high a seat as possible and drop down minimally at first then go lower when your triceps get stronger. If doing it on the floor without any support pull your feet in closer so that they take more of the load.
Advanced Version
As you master this exercise, start extending your legs. The straighter they are, the more challenging it’ll become!
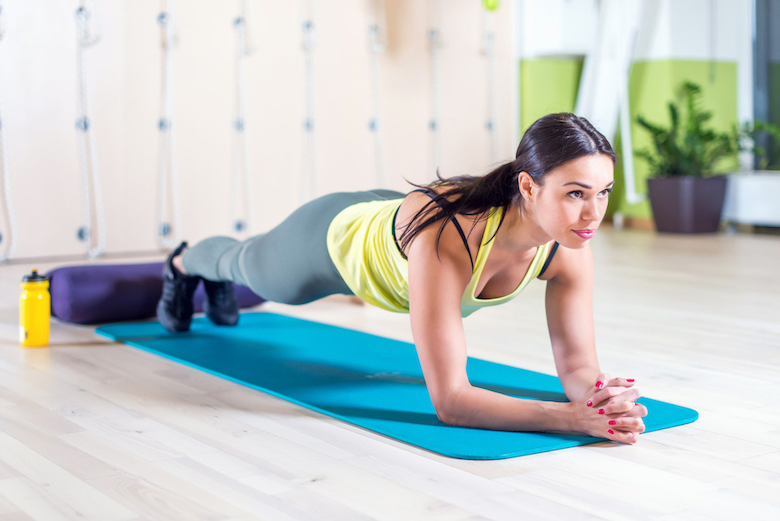
4. Planks
If you’re working on your beach body, here’s an exercise that you may enjoy. Overall, planks strengthen core muscles. They’re easy to do, and the longer you hold the pause, the more challenging it becomes.
There are many variations of the plank but here is how to properly do the basic version.
Step by Step
- Starting position: Face down and lay your forearms on the floor in front of you. Your elbows should be straight under your shoulders.
- Form a straight line: If this is your first time doing a plank, ensure that you have the right form and keep your knees down. Your body should form a straight line from your head to your knees.
- Hold: Stay for one minute.
- Take your knees off the floor: When you feel ready, tuck your toes under your feet and lift your entire body away from the floor. The straight line should now be from head to toe.
- Hold: Stay for one minute or as long as you can.
Low Impact Option
Stay at number 3. So hold the plank at the knees position.
Advanced Version
When you feel like taking your plank further, move on to the traditional plank. Strengthen your arms and hold the posture on your hands. While some people find the elbow type more challenging, the traditional plank provides more intense shoulder and arm workouts.
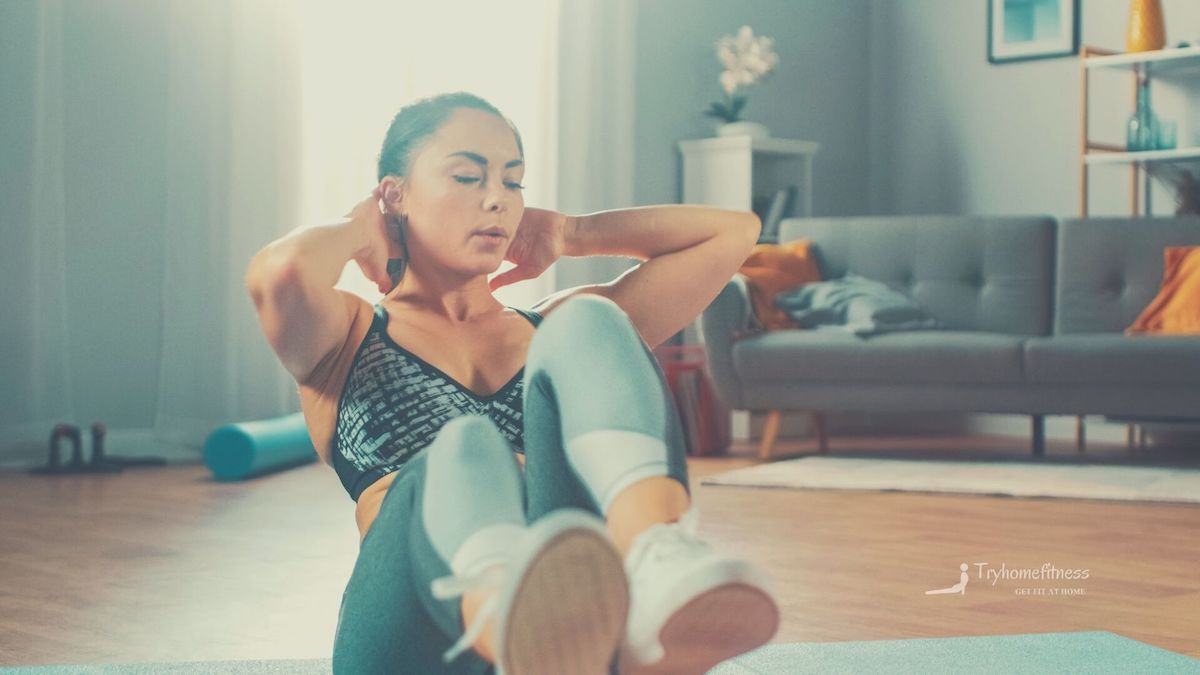
5. The Bicycle
This is another classic exercise that can be performed anywhere. Give it a try in your living room, in a park, or even at the beach. It’s a fantastic workout for your abdominal area and oblique muscles.
As you proceed with the bicycle, keep in mind that the lower your legs are to the floor, the more difficult it’ll be.
Step by Step
- Starting position: Lay down on your back, with your head down. Position your arms by your side, parallel to your body. Bring your right knee to your chest, while the left one is extended, a few inches off the floor.
- Switch legs: Bend your left leg to your chest, and stretch the right one until it almost reaches the floor.
- Keep switching: Alternate legs for one minute.
Low Impact Option
For an easier version, keep your extended leg 30 to 50 degrees off the floor. And for less stress on the back don’t rotate the waist to fully meet the elbow with the opposing knee.
Advanced Version
To boost the challenge, bring your palms under your neck. As you continue the same leg movements and rotations, touch your knee with your opposite elbow.
6. Wall Sit
The “wall sit” generally looks easier than it is. Done correctly, it should provide a burning sensation to your quads. Plus, it also engages hips, lower abs, and calves.
Step by Step
- Starting position: Stand straight against a wall with your arm on your sides, parallel to your body. Your feet should be shoulder-width apart, slightly in front of you.
- Slide your back down: Lower your body until your thighs are parallel to the floor, and keep your abs engaged. Your knees show a 90-degree angle, push your feet a little further if needed.
- Hold: Stay in the position 60 seconds. Yep, it’s a lot tougher than it looks.
Low Impact Option
The more obtuse the angle at the knee the more weight is been born by the legs so go further up the wall until you get stronger.
Advanced Version
If you want to feel a deeper burn, proceed with the same movement, but keep one leg up, extended parallel to the floor. Hold for 30 seconds and switch legs. Wow, burn.
7. Burpee
Many people have a love-hate relationship with burpees – you can include me in that category. Although some find them too challenging, they’re nevertheless very popular because they provide a full-body workout. They combine cardio, squats, push-ups, and core exercises.
Step by Step
- Starting position: Begin in a low squat with your feet shoulder-width apart. Place your hands flat on the floor, just in front of your knees.
- Kick your feet back: Push both legs together to the back, landing in a traditional plank position.
- Push up: Bend your elbows and bring your core as close to the floor as possible.
- Back to squat position: Kick both legs back to reach your hands.
- Jump: Bring your arms up and make one jump as high as possible.
- Repeat: Continue for one minute.
Low Impact Option
In describing the low impact option I mean a less stressful choice for the bones and joints. It also means an easier option which is perfect until fitness and strength are gained.
With the burpee, I strive to find any version that you could describe as easy. It may be just me though. To lessen the impact you could omit the jump part but that then makes it even tougher from a cardio point of view.
Advanced Version
Do you feel like an extra challenge? Really! Replace the final bounce with a tuck jump; which we’ve previously described.
Cooling Down & Relax
Working out doesn’t have to be in a gym, nor does it require fancy and expensive equipment. These basic exercises without using any equipment can be completed anywhere, from the comfort of your home or garden to any outdoor space.
Just don’t forget to warm up before starting, and stretch after finishing. It should prevent muscle soreness the following day!